How to Grow Potatoes in Straw Bales: Step-by-Step Guide
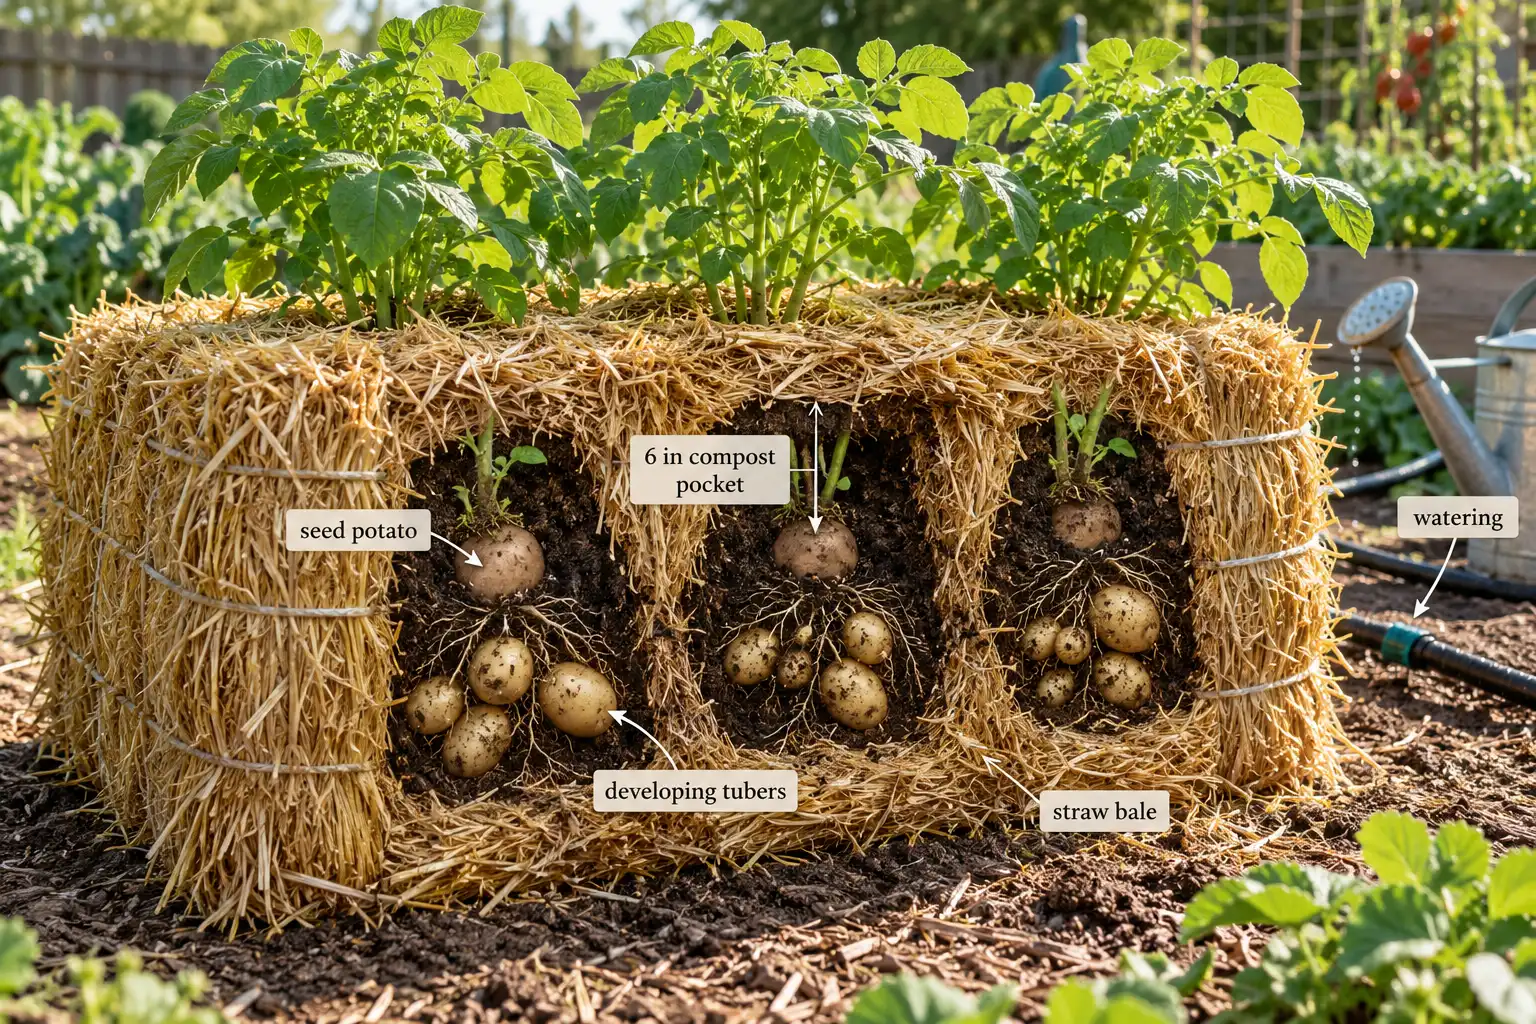
Growing potatoes in straw bales provides an alternative to digging garden beds, especially where soil is rocky, compacted, or unavailable. Learning how to grow potatoes in straw bales starts with preparing the straw, choosing healthy seed potatoes, and maintaining moisture throughout the growing season.
To grow potatoes in straw bales, condition clean straw with water and nitrogen for about 12 days. Plant certified seed pieces 6 inches deep and 10 to 12 inches apart. Keep the bale moist and harvest after the vines die.
Can You Really Grow Potatoes in Straw Bales?
Yes. Potatoes can grow inside conditioned straw bales, although they require more attention to watering and fertility than potatoes planted in garden soil.
A straw bale acts as a temporary raised growing bed. As its interior decomposes, roots spread through the softened material, and potato tubers develop around underground stems.
Illinois Extension provides specific instructions for growing potatoes inside straw bales, including conditioning, planting, fertilization, and harvest.
However, Oregon State Extension considers potatoes more difficult to grow in straw bales than crops such as lettuce, beans, or peppers.
That difference matters. Straw bales offer convenient harvesting, but they do not guarantee higher yields or eliminate pest and disease problems.
For a small garden, start with one or two bales before expanding.
What Do You Need to Grow Potatoes in Straw Bales?
You need clean straw, certified seed potatoes, nitrogen fertilizer, water, and a small amount of compost or garden soil.
Choose the Right Straw
Wheat or oat straw is a practical choice because it contains relatively few viable seeds compared with hay.
Choose tightly bound bales that hold their shape. Keep the baling strings intact until harvest.
Avoid straw with an unknown herbicide history.
The University of Arizona Cooperative Extension warns that persistent herbicides, including aminopyralid, clopyralid, and picloram, can remain active in straw and damage garden plants. Ask the supplier about previous herbicide treatments.
Select Healthy Seed Potatoes
Use certified disease-free seed potatoes rather than ordinary grocery-store potatoes.
Suitable varieties include:
- Yukon Gold: An early-producing yellow-fleshed potato suitable for boiling, roasting, and mashing.
- Red Pontiac: A red-skinned variety commonly recommended for Southern home gardens.
- Kennebec: A white-skinned variety suitable for several cooking purposes.
Choose varieties adapted to your growing season. Smaller seed tubers can be planted whole, reducing the risk of decay associated with cutting.
When Should You Plant Potatoes in Straw Bales?
Plant when the bale has finished conditioning and outdoor temperatures favor cool-season potato growth.
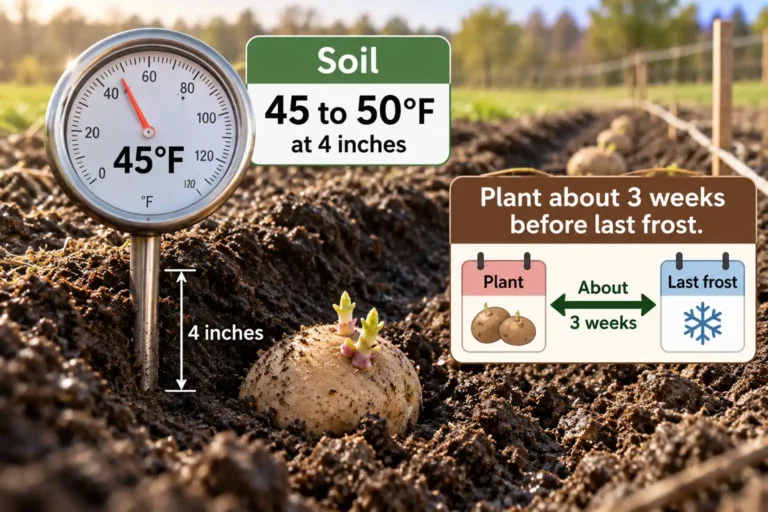
According to Illinois Extension, potato tubers develop best at growing-medium temperatures around 60°F to 70°F. Tuber formation becomes severely restricted around 80°F.
Because climate varies considerably across the United States, use the following dates as regional starting points.
| Region | Approximate planting period |
|---|---|
| Minnesota and similar northern climates | Mid-April to mid-May |
| Illinois and similar central Midwest climates | March to early April |
| Georgia | January 15 to March 1 |
| North Florida | January to March |
| Central Florida | November to February |
| South Florida | October to January |
These are regional outdoor potato planting windows, not dates established specifically for straw-bale trials.
The University of Minnesota Extension, University of Georgia Cooperative Extension, and UF/IFAS Extension provide the corresponding planting calendars.
Begin conditioning approximately two weeks before your intended planting date.
For additional regional guidance, check when to plant potatoes. In warmer climates, fall potato planting may provide a cooler growing period.
How to Condition Straw Bales Before Planting
Conditioning starts microbial decomposition, softens the straw, and prepares the bale to support potato roots.
Fresh straw contains limited available nutrients. Nitrogen and moisture stimulate microorganisms that begin breaking down the straw.
This process generates heat. Therefore, planting before the bale cools can damage seed potatoes.
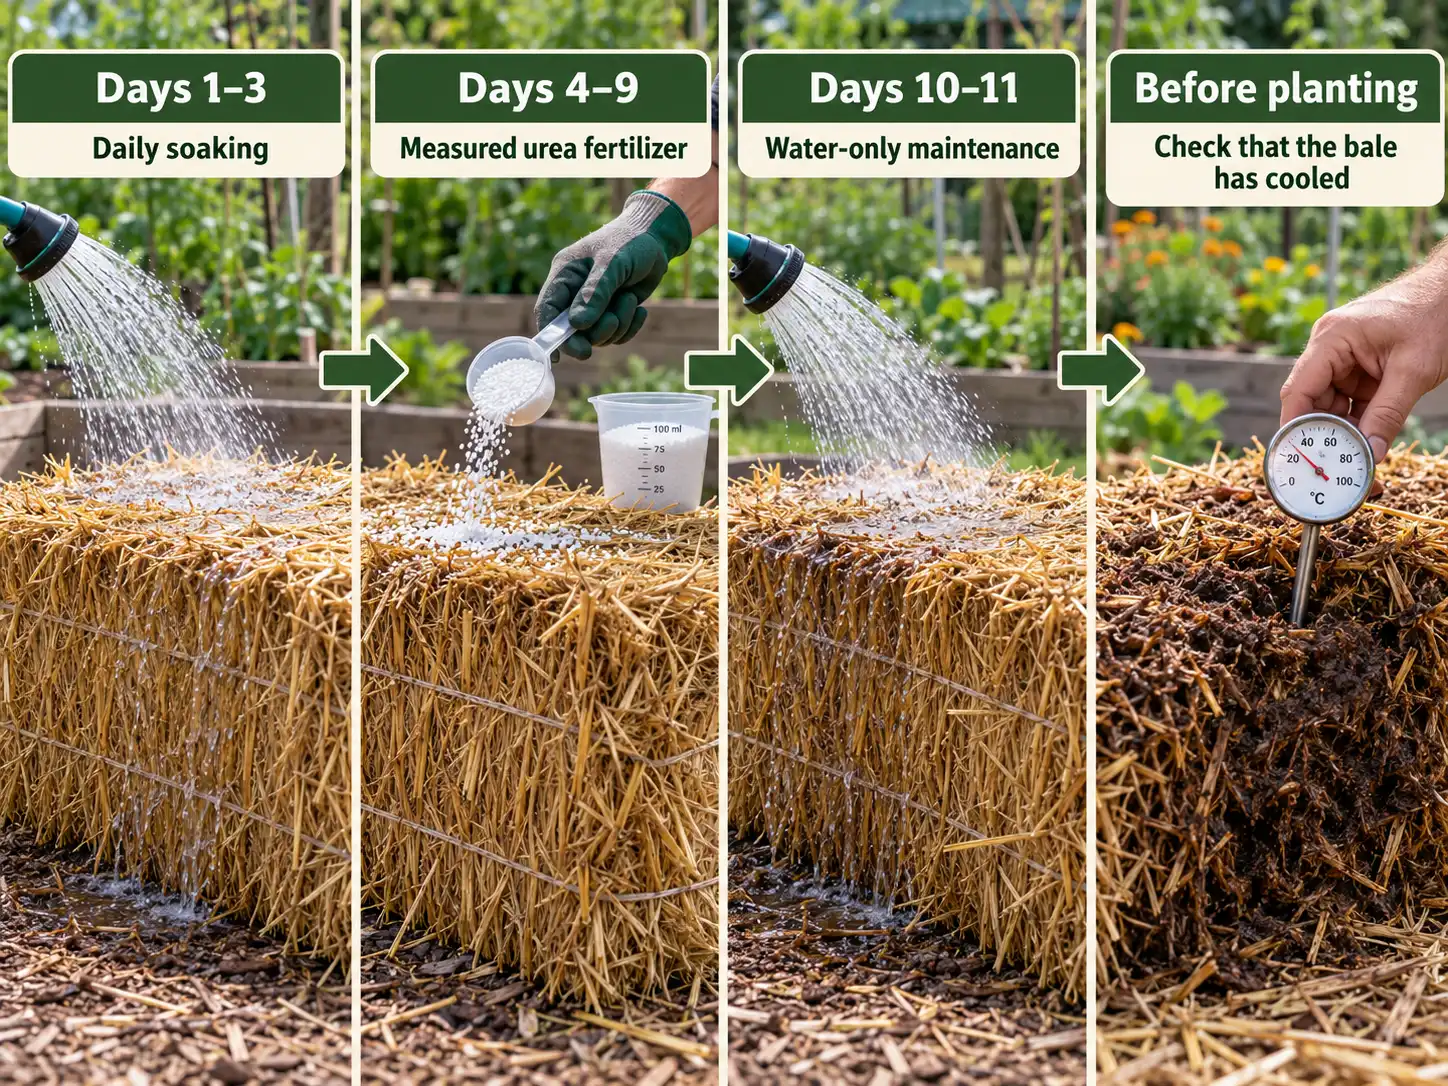
Straw Bale Conditioning Schedule
Illinois Extension’s straw bale gardening instructions provide the following schedule using urea fertilizer graded 46-0-0.
| Days | Action per bale |
|---|---|
| 1 to 3 | Thoroughly soak the bale daily. |
| 4 to 6 | Apply ½ cup urea (46-0-0) each day. Water it into the straw. |
| 7 to 9 | Apply ¼ cup urea each day. Continue watering. |
| 10 to 11 | Stop fertilizing. Maintain moisture. |
| Day 12 onward | Check internal temperature. Plant only after the bale has cooled. |
These measurements apply specifically to urea 46-0-0. Do not substitute another fertilizer at the same cup rate without checking an appropriate extension recommendation.
Never use a lawn fertilizer containing weed killers.
Use a compost thermometer to check the bale’s center. Wait until the temperature approaches the surrounding air temperature before planting.
How to Grow Potatoes in Straw Bales Step by Step
Once the bale has cooled, you can plant the seed potatoes directly into its softened interior.
Step 1: Position the Bale
Place the bale in a location receiving at least six hours of direct sunlight daily.
Choose a level surface with adequate drainage and convenient access to water.
Position the bale with its baling strings around the sides and the cut straw ends facing upward. This allows moisture to penetrate more easily.
Move the bale before soaking because wet straw becomes heavy.
Step 2: Prepare the Seed Potatoes
Use whole small seed potatoes or cut larger tubers into pieces weighing approximately 1.5 to 2 ounces.
Each piece should contain at least one healthy eye, preferably two.
The University of Minnesota Extension recommends allowing cut surfaces to dry and form a protective layer before planting. Follow the guidance in preparing and curing seed potatoes.
Step 3: Make Planting Pockets
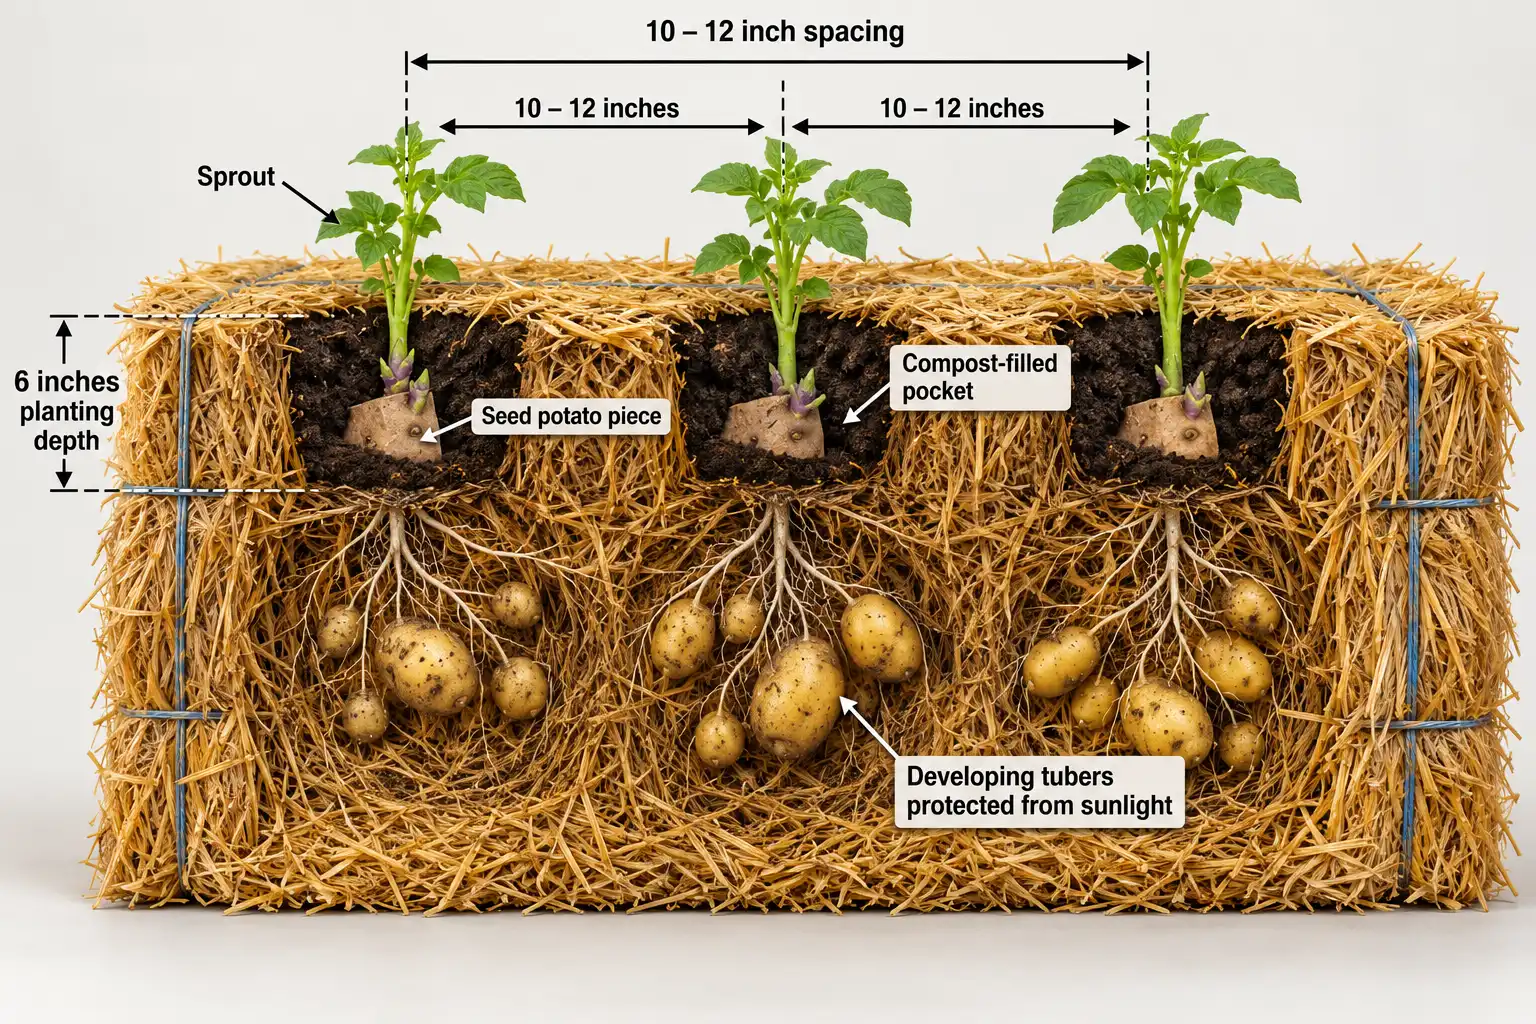
Open planting pockets approximately 6 inches deep, spaced 10 to 12 inches apart.
Place a small amount of finished compost or suitable garden soil into each pocket.
Plant one seed piece with its eyes facing upward. Then gently close the straw around it and cover with soil or compost.
For a standard bale approximately 3 feet long, starting with two or three seed pieces provides room for growth.
Illinois Extension describes planting as many as six pieces in a bale, but that is not a standardized yield recommendation.
Step 4: Water After Planting
Water slowly until the planting pockets and surrounding straw are evenly moist.
Avoid forceful watering that washes compost out of the pockets.
Keep the bale moist while the sprouts establish.
How to Water and Fertilize Straw Bale Potatoes
Successful straw-bale potato production depends on consistent moisture and a continuing supply of nutrients.
Watering
Check moisture inside the bale daily rather than judging only its exterior.
Push your fingers several inches into the straw near a planting pocket. The interior should feel evenly damp, not completely dry or saturated.
Oregon State Extension notes that straw bales may need daily watering during hot, dry weather. Drip irrigation or a soaker hose helps maintain more consistent moisture.
For scale, 1 inch of water across a bale top measuring 3 feet by 1.5 feet equals approximately 2.8 gallons. Across an acre, the same water depth equals approximately 27,154 gallons.
That is a volume conversion, not a fixed bale-watering recommendation. Drainage and weather determine actual irrigation needs.
Fertilizing
Straw decomposition alone may not supply enough nutrients for a potato crop.
Illinois Extension recommends continued fertilization every two to three weeks during bale potato production.
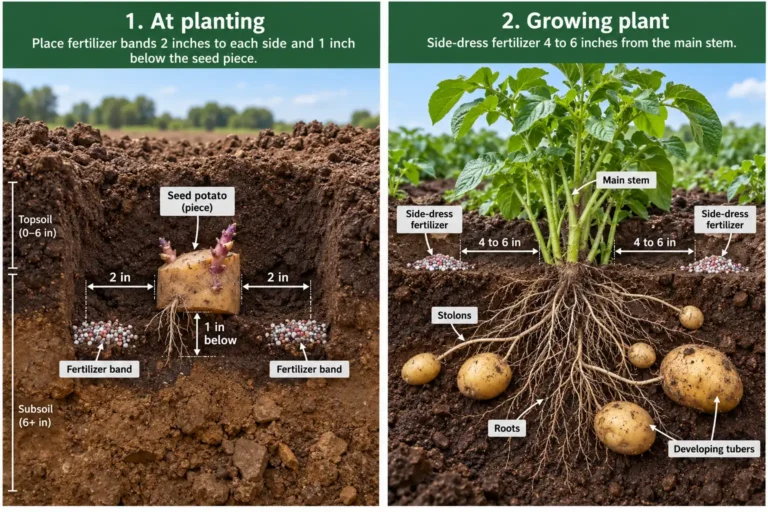
Use a complete vegetable fertilizer supplying nitrogen, phosphorus, and potassium according to its labeled dilution and application directions.
Avoid excessive nitrogen after vigorous vine growth begins. Strong foliage does not necessarily indicate good tuber production.
Do You Need to Hill Potatoes Growing in Straw Bales?
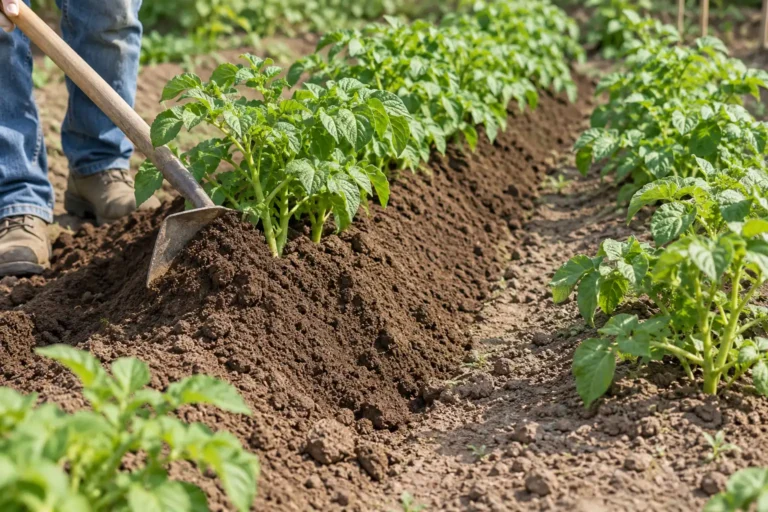
You need to keep developing tubers covered, but traditional soil hilling is not always necessary.
Potatoes form on underground stems. Exposed tubers can turn green when sunlight reaches them.
As plants grow, inspect the planting pockets and bale sides.
If straw settles or tubers become visible, add loose clean straw or a little garden soil to block light.
Do not bury most of the green foliage.
Check again after heavy rain or significant bale settling. Maintaining a dark growing environment protects developing potatoes and reduces greening.
Common Problems When Growing Potatoes in Straw Bales
Most problems involve moisture, nutrients, excessive heat, or poor-quality straw.
| Problem | Likely cause | What to do |
|---|---|---|
| Seed potatoes fail to sprout | Bale planted while hot, excessive moisture, or damaged seed | Check temperature and moisture; inspect a seed piece for decay |
| Leaves turn pale yellow | Nutrient deficiency or waterlogged straw | Check moisture before applying a complete fertilizer |
| Plants wilt during hot weather | Bale interior is drying out | Water slowly and check moisture deeper inside |
| Potatoes develop green patches | Sunlight reaches developing tubers | Add clean straw or soil to block light |
| Leaves have feeding holes | Colorado potato beetles, slugs, or other pests | Inspect leaves and identify the pest before treatment |
| New leaves appear twisted or distorted | Possible herbicide contamination or other plant stress | Check straw history and compare symptoms with unaffected plants |
Straw bales do not prevent potato blight or insect damage. Inspect plants regularly for leaf spots, wilting, insect eggs, and feeding damage.
Avoid using fungicides or insecticides without identifying the problem and following a product label approved for potatoes.
How Long Do Potatoes Take to Grow in Straw Bales?
Expect approximately 70 to 110 days for many potato varieties, depending on cultivar, temperature, and growing conditions.
Illinois Extension describes potato maturity commonly occurring around 70 to 100 days. UF/IFAS lists approximately 85 to 110 days in its Florida gardening guide. The ranges differ because cultivars and regional growing conditions differ.
Use plant development rather than the calendar alone:
| Growth stage | What to expect |
|---|---|
| Emergence | Shoots appear above the straw |
| Vegetative growth | Stems and leaves develop rapidly |
| Flowering and tuber development | Small new potatoes may be available |
| Vine yellowing and dieback | Plants approach maturity |
| Mature harvest | Most foliage has died and potato skins are firmer |
New potatoes may be harvested earlier, but their thin skins make them less suitable for long storage.
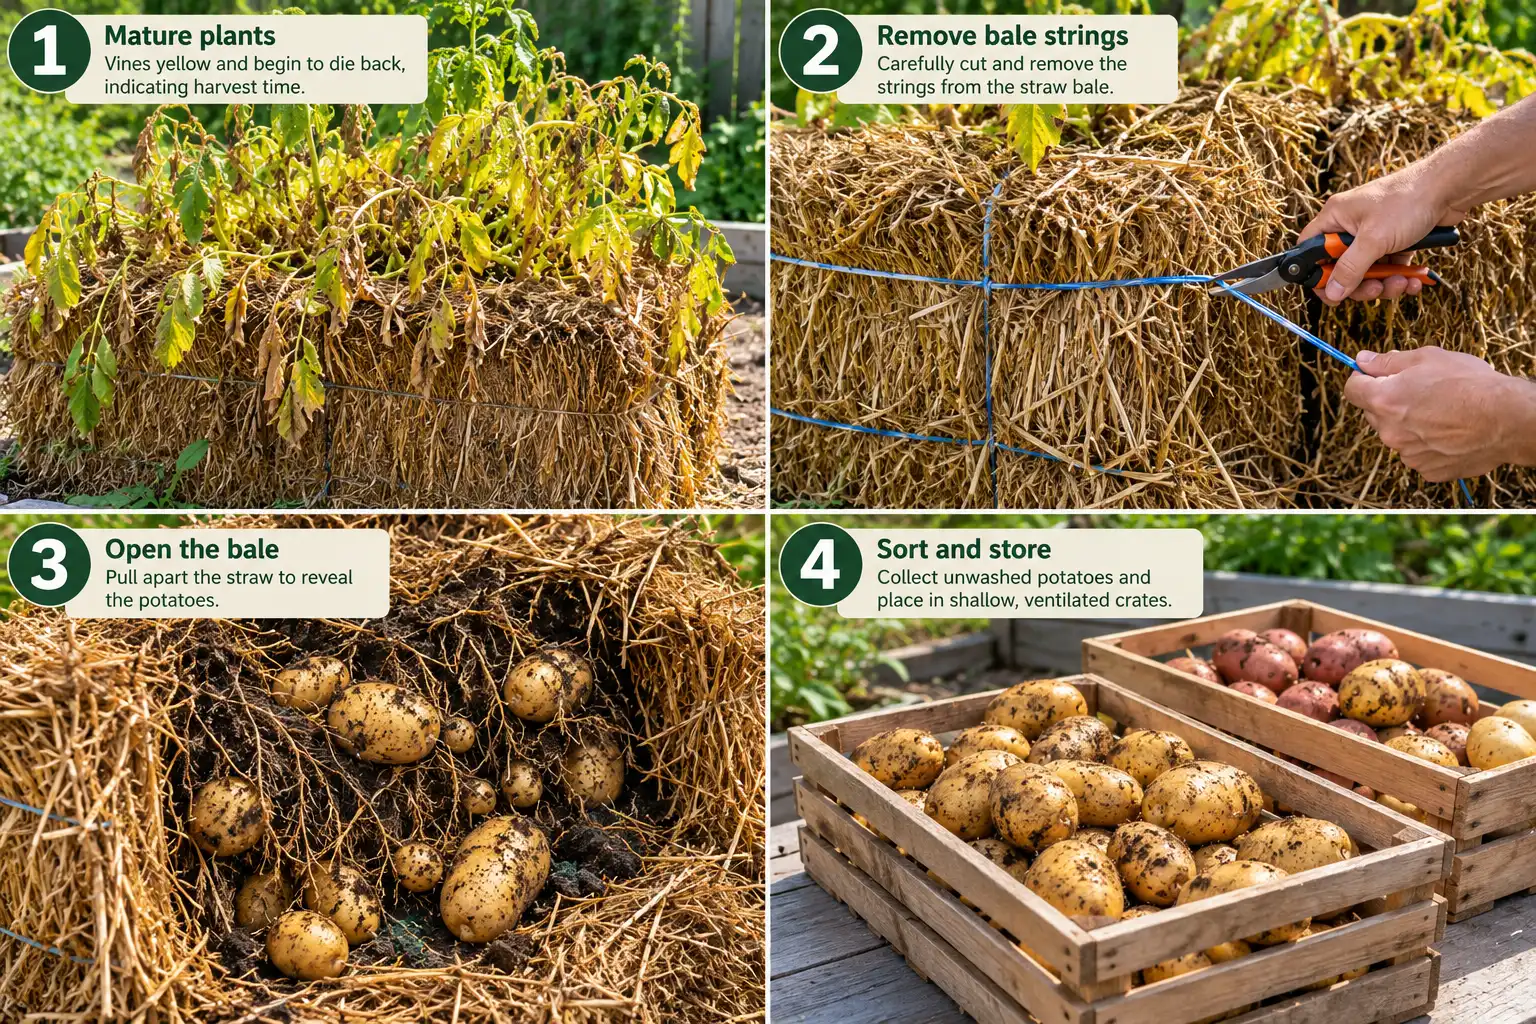
How to Harvest Potatoes From Straw Bales
Harvesting is one of the main conveniences of growing potatoes inside bales.
Wait until the vines naturally yellow and die back if you want mature storage potatoes.
Then follow these steps:
- Stop irrigation shortly before harvest if the bale remains excessively wet.
- Cut the bale strings carefully.
- Pull the straw apart by hand.
- Collect the potatoes without scraping or puncturing their skins.
- Separate damaged, rotten, or green tubers.
Illinois Extension recommends breaking apart the bale after the vines die and allowing harvested potatoes time to heal minor skin injuries before storage.
Keep harvested potatoes out of direct sunlight. Do not wash potatoes intended for storage until you are ready to use them.
Cure suitable mature tubers in a dark, ventilated location under appropriate temperature and humidity conditions. Then store them in a cool, dark place.
Straw Bale Growing vs. Growing Potatoes Under Straw
Growing potatoes inside intact straw bales differs from using loose straw as mulch over garden soil.
Both can reduce digging, but they require different preparation and maintenance.
| Feature | Intact straw bale | Loose straw over soil |
|---|---|---|
| Growing medium | Conditioned bale interior | Garden soil with straw covering |
| Conditioning needed | Yes, for fresh bales | No separate bale conditioning |
| Fertility | Requires regular feeding | Depends mainly on soil fertility |
| Irrigation | Bale moisture needs frequent checks | Depends on soil and mulch |
| Harvest | Open and dismantle bale | Pull aside straw and collect potatoes |
| Best use | Poor soil, paving, small spaces | Existing garden beds |
Choose an intact bale when avoiding soil preparation is your priority.
Choose loose straw over soil if you already have a suitable potato bed and want easier access to tubers.
How Many Seed Potatoes Do You Need?
For a first planting, plan approximately two or three seed pieces per standard 3-foot bale.
Use this simple calculation:

For example, 12 seed pieces require four bales at three pieces per bale. Similarly, 24 seed pieces require eight bales.
This is a planting-capacity estimate, not a yield prediction.
Harvest weight depends on variety, growing temperature, bale moisture, nutrients, and plant health. Reliable pounds-per-bale figures from controlled university trials are limited, so avoid assuming that every bale will produce a specific weight.
FAQs about Straw Bale Potatoes
Can you grow potatoes in straw bales without adding soil?
Yes, conditioned straw can support potato growth, but a little finished compost or garden soil around the seed pieces helps establish roots. Continue fertilizing because decomposing straw does not supply all nutrients consistently.
Can you use old straw bales to grow potatoes?
Yes, partially decomposed bales may be suitable if they remain structurally sound and contain no harmful residues. Check their moisture and internal temperature before planting, since their conditioning needs can differ from fresh bales.
Can you grow potatoes in straw bales on concrete?
Yes, straw bales can serve as growing beds on concrete or other paved surfaces. Keep them stable, allow water to drain, and protect surrounding areas from fertilizer runoff and moisture damage.
Can you use hay bales instead of straw bales?
Hay can decompose and support plant growth, but it generally contains more viable weed seeds than cereal straw. Clean wheat or oat straw is preferable when minimizing weed growth and unwanted vegetation matters.
Can you reuse straw after harvesting potatoes?
Yes, spent straw can be composted or used as organic material elsewhere, provided it is free from serious disease and herbicide residues. Most decomposed bales will not retain enough structure for another intact-bale planting.
Do potatoes grown in straw bales need full sun?
Yes, aim for at least six hours of direct sunlight daily. Adequate light supports healthy foliage and tuber development, but the potatoes themselves must remain enclosed in straw or soil to prevent greening.
Key Points for a Successful Straw Bale Potato Crop
Begin with clean straw and certified seed potatoes. Condition each bale before planting, maintain consistent moisture, and keep developing tubers covered.
Start with a small number of bales to assess watering and fertility needs. Harvest mature potatoes after vine dieback, then compost the spent straw if it is suitable for reuse.